Introduction
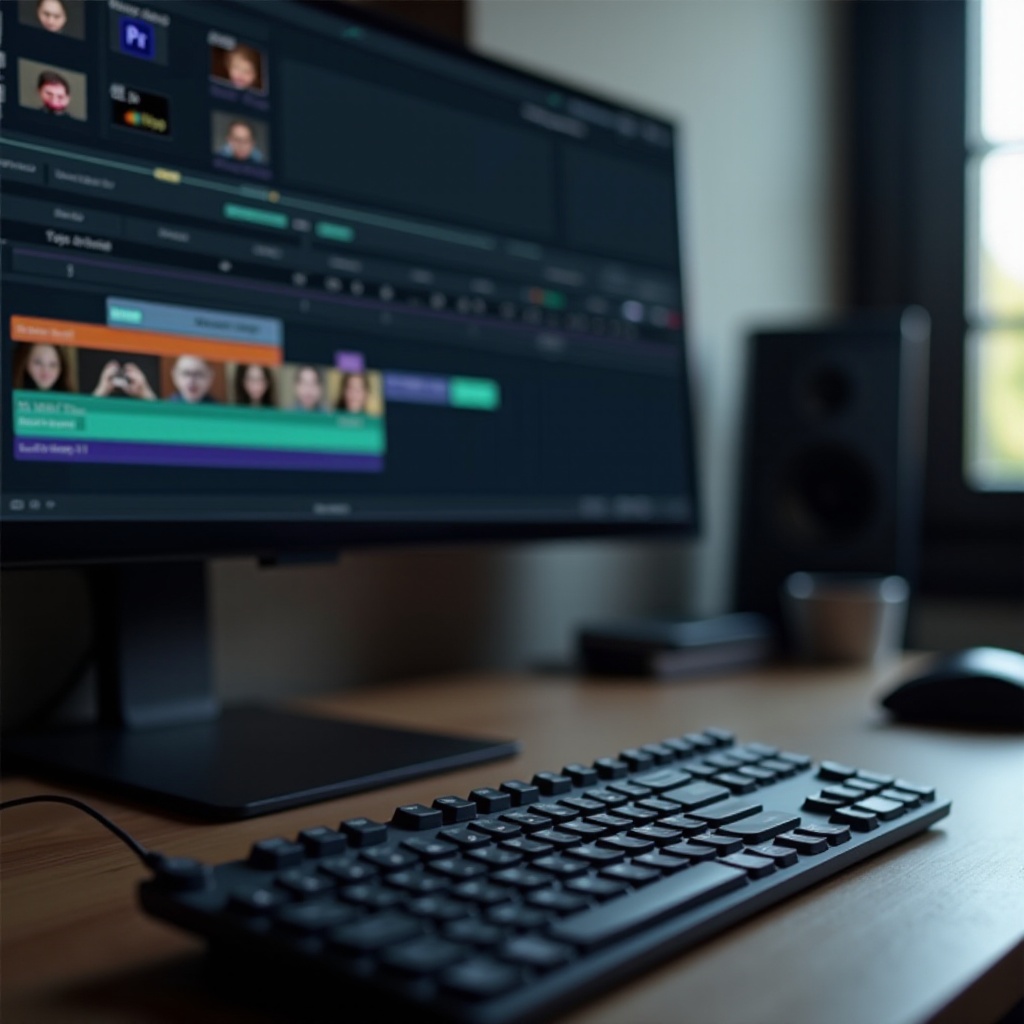
Editing videos efficiently requires mastering various techniques, and one such technique in Adobe Premiere Pro is the ripple delete. Ripple delete is a powerful feature that allows you to remove a clip and automatically close the gap, ensuring a smooth transition between remaining clips. This blog will guide you on how to ripple delete using the keyboard, making your editing process quicker and more seamless.
Premiere Pro offers numerous keyboard shortcuts to expedite your workflow, and assigning a shortcut for ripple delete can significantly enhance your editing efficiency. Let’s dive into understanding what ripple delete is, how to set up your keyboard, and perform this action effectively.
Understanding Ripple Delete in Premiere Pro
Ripple delete is an invaluable function in Premiere Pro for seamless video editing. This feature allows you to delete a clip from your timeline and automatically shift all the subsequent clips to the left, filling the gap left by the removed clip. This results in a continuous flow, eliminating the need to manually move each clip.
The ripple delete tool differs from a regular delete as it ensures your timeline remains intact without extra spaces. For editors working on tight schedules, this function can save valuable time and streamline the editing process. Understanding how and when to use ripple delete is crucial for maintaining a smooth and efficient editing workflow.
Setting Up Your Keyboard Shortcuts for Ripple Delete
Premiere Pro’s flexibility with keyboard shortcuts can greatly enhance your efficiency. Customizing keyboard shortcuts for ripple delete is straightforward and can be a game-changer for your workflow.
Accessing Keyboard Shortcuts
- Open Adobe Premiere Pro.
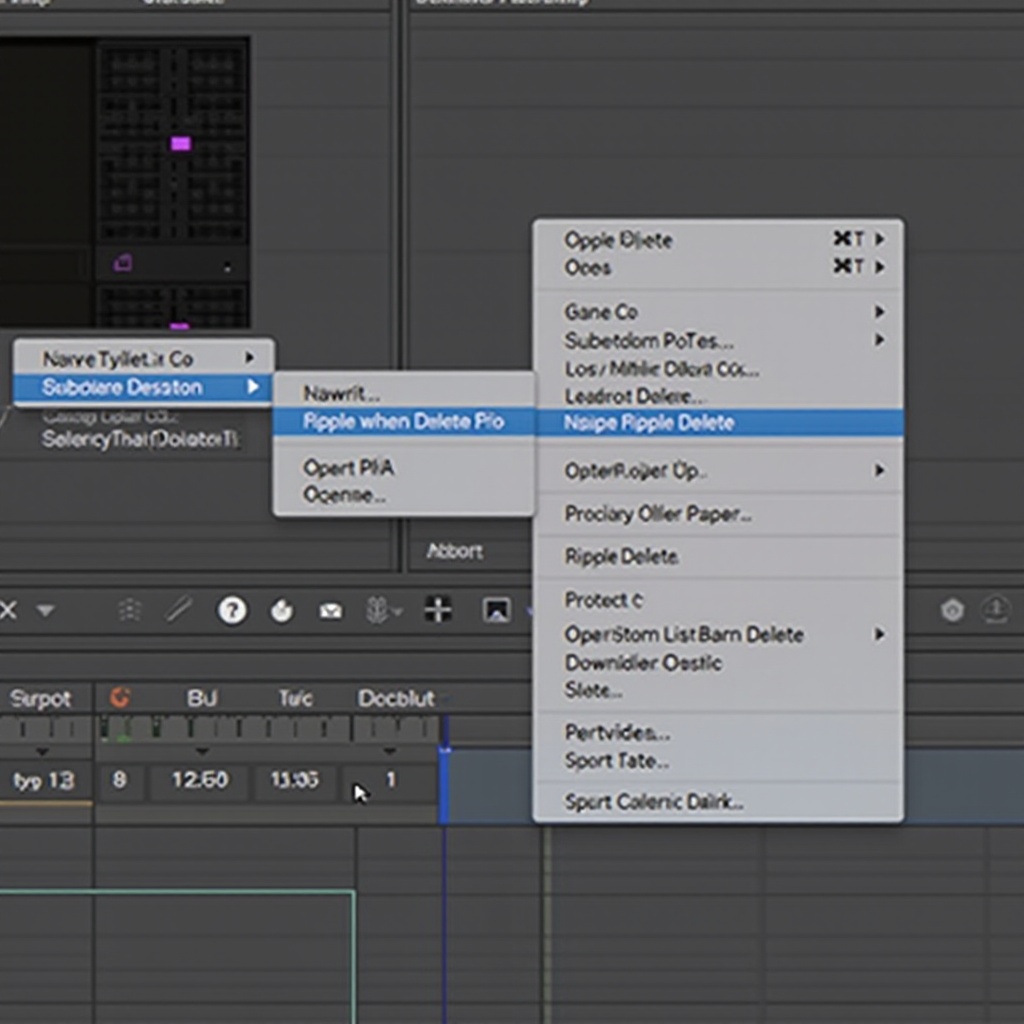
- Navigate to ‘Edit’ in the menu bar and select ‘Keyboard Shortcuts’ or press
Ctrl + Alt + Kon Windows orCmd + Option + Kon Mac. - In the Keyboard Shortcuts dialog box, use the search bar at the top to locate ‘Ripple Delete.’
Customizing Ripple Delete Shortcuts
- Once you locate the ‘Ripple Delete’ command in the list, assign a convenient key or combination of keys. Common choices are the
Xkey orShift + X. - Click on the current shortcut key and press your preferred key combination.
- Ensure that the new shortcut does not conflict with existing shortcuts. If it does, Premiere Pro will alert you.
- Confirm and save your new shortcut by clicking ‘OK’ or ‘Save as a Copy’ if you want to keep the default layout backed up.
Now that your shortcut is customized, using the ripple delete function via the keyboard will be much more intuitive and efficient.
Step-by-Step Guide: Ripple Delete Using Keyboard
With your keyboard shortcut set up, let’s walk through how to use it effectively in your Premiere Pro projects.
Selecting the Clip to Be Deleted
- Open your project in Premiere Pro.
- On your timeline, click to select the clip you wish to remove.
- Ensure the clip is fully selected; dragging across multiple clips can result in errors.
Executing the Ripple Delete Shortcut
- With the clip selected, press your customized ripple delete shortcut key (e.g.,
Shift + X). - The clip will be removed, and all subsequent clips will shift to occupy the gap left behind.
- Observe the remaining clips to ensure the transition is smooth.
Adjusting Surrounding Clips
- If necessary, fine-tune the positioning of surrounding clips by trimming or expanding them with the Ripple Edit tool.
- Use the
Rolling Edit Toolif you need to adjust the edit point between two clips or resolve any transitions that may have been affected.
By following these steps, you will ensure a streamlined editing process, leveraging the full power of ripple delete.
Tips and Tricks for Efficient Editing
To further optimize your video editing in Premiere Pro, consider the following tips and tricks:
- Use Workspaces: Customize and save your workspace layout to suit specific tasks, making tools and panels easily accessible.
- Markers and Labels: Use markers to annotate key points in your timeline and color labels to categorize clips visually.
- Pre-composed Sequences: For complex projects, use nested sequences to organize your timeline and make it more manageable.
- Auto-Save: Ensure auto-save is enabled to prevent data loss.
- Audio Adjustments: Normalize audio levels in one go using key shortcuts and most importantly, use ripple delete to keep the flow.
These strategies, combined with proficient use of ripple delete, will trim down your editing time and maintain the professional quality of your projects.
Troubleshooting Common Issues
While using ripple delete, you might encounter a few issues. Here’s how to troubleshoot common ones:
- Overlapping Clips: Ensure no clips overlap on the timeline before using ripple delete, as this can prevent the function from working properly.
- Inactive Shortcut: Double-check your keyboard shortcut settings if the ripple delete shortcut doesn’t work. Make sure it’s not overridden by another command.
- Timeline Gaps: If gaps remain after using ripple delete, verify no clips were accidentally deselected or adjustment tools were left active.
By identifying and addressing these issues promptly, you can maintain a smooth editing workflow.

Conclusion
Mastering the ripple delete function and utilizing customized keyboard shortcuts in Adobe Premiere Pro can significantly enhance your video editing efficiency. By following the step-by-step guides and tips outlined in this blog, you can save time and ensure seamless transitions in your projects. Practice makes perfect, so keep refining your techniques for optimal results.
Frequently Asked Questions
What is the main advantage of using ripple delete in video editing?
Ripple delete saves time by automatically closing gaps in the timeline, ensuring smooth transitions between clips.
Can I customize the keyboard shortcut for ripple delete in Premiere Pro?
Yes, you can customize the keyboard shortcut to any key or combination that you prefer for a more efficient editing process.
How do I ensure smooth transitions after using ripple delete?
Ensure clips are properly aligned and use the Ripple Edit tool for any fine adjustments to maintain smooth transitions.