Introduction
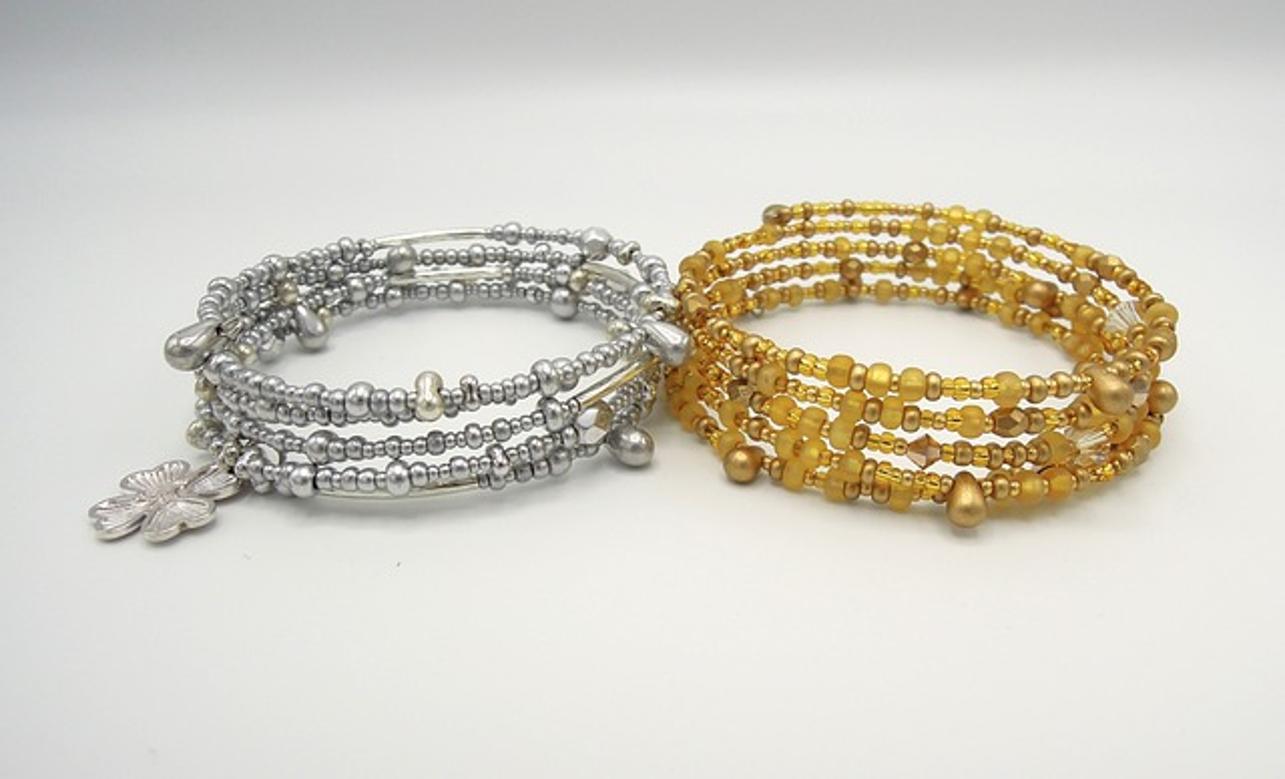
Chunky beaded bracelets are a fun and stylish addition to any outfit. Crafting your own allows for ultimate customization and creativity. Whether you’re an experienced jewelry maker or a beginner, this hands-on project is both enjoyable and rewarding. This guide will walk you through each step, from gathering materials to the finishing touches, ensuring that you create a stunning chunky beaded bracelet that reflects your personal style.

Why Choose Chunky Beaded Bracelets?
Chunky beaded bracelets are popular for several reasons. Their bold, eye-catching designs make them a favorite accessory for anyone looking to make a fashion statement. They are versatile, easy to customize, and perfect for both casual and formal occasions. By making your own, you can experiment with different colors, materials, and styles, creating a unique piece that you won’t find in stores.

Materials You’ll Need
To start your bracelet-making journey, you’ll need a few basic materials:
- Beads: Choose from a variety of shapes, sizes, and materials that suit your style.
- Stringing Material: Options include elastic cord, jewelry wire, or nylon thread.
- Crimp Beads: Essential for securing the ends of the bracelet.
- Clasps: To easily put on and take off your bracelet.
- Bead Stoppers: These prevent beads from slipping off the ends while you work.
- Tools: Such as scissors, pliers, and a bead board or mat.
Make sure you have all these materials on hand before beginning your project to ensure a smooth crafting process.
Choosing Your Beads
The choice of beads is crucial for creating a chunky bracelet that stands out. Consider the following:
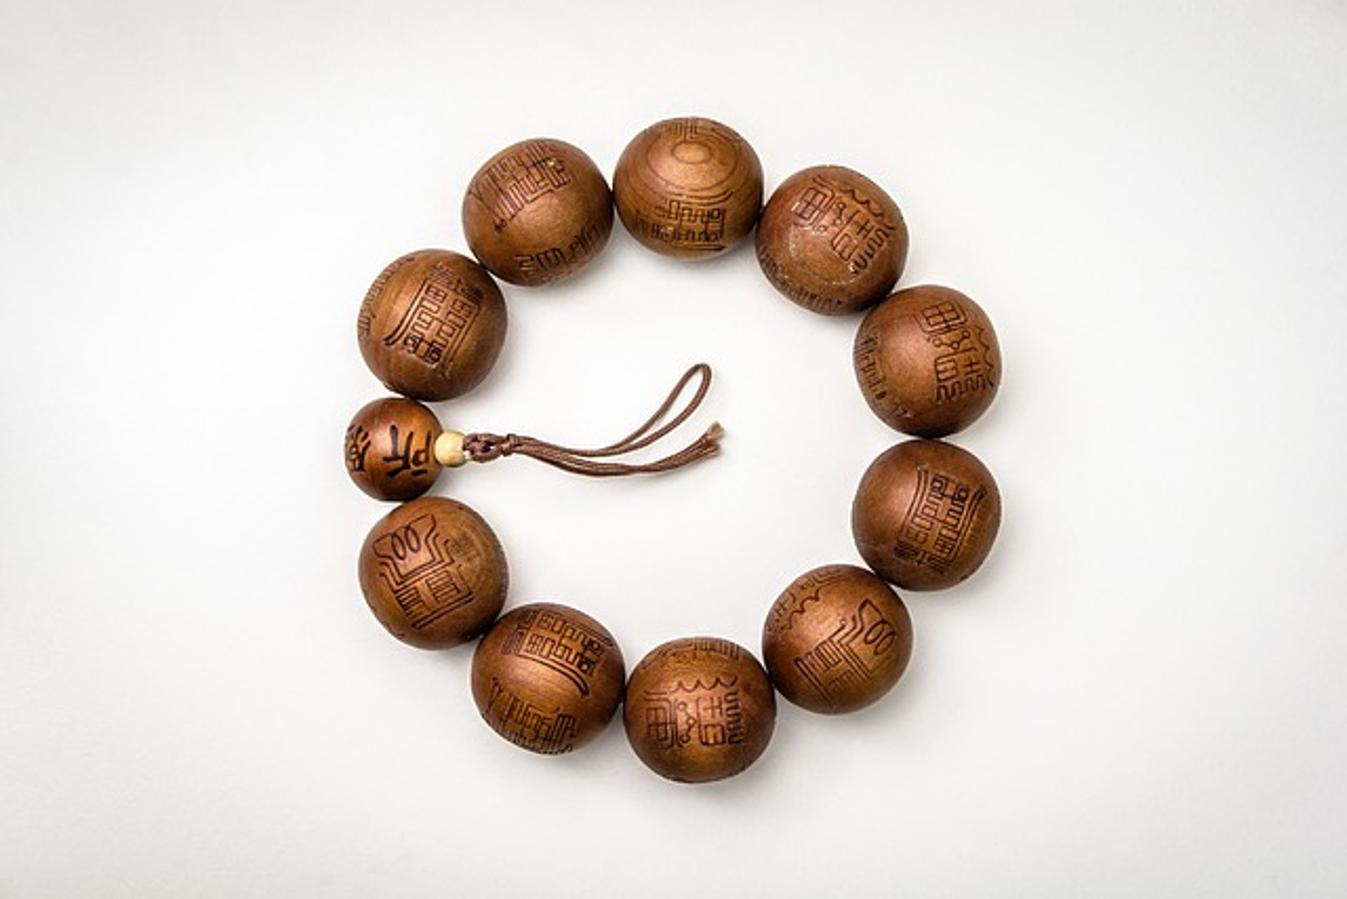
- Material: Glass, wood, acrylic, and metal beads each offer a different aesthetic.
- Size: Larger beads create a bolder look, while smaller beads can add intricate detail.
- Color: Select colors that complement your wardrobe and personal style.
- Shape: Round beads are classic, while faceted or irregularly shaped beads can add visual interest.
Experiment with different combinations to find the perfect beads for your bracelet.
Gathering Supplies
Once you’ve chosen your beads, gather all the necessary supplies. Lay everything out on a clean, flat surface to keep organized. A bead board or mat can be extremely helpful for planning your design and keeping beads in place during the crafting process.

Designing Your Bracelet
Designing is one of the most enjoyable parts of making a chunky beaded bracelet. Start by arranging your beads on the bead board or mat. Play around with different patterns and color sequences until you find a design you love. Use a tape measure or ruler to ensure your design will fit comfortably around your wrist.
Techniques to Know
Several basic techniques will make the bracelet-making process easier:
- Stringing: Thread beads onto your chosen stringing material. Elastic cords and jewelry wires are great options for beginners.
- Crimping: Use crimp beads to secure the ends of your bracelet. This is especially important if you’re using jewelry wire.
- Attaching Clasps: Ensure your bracelet is easy to put on and take off by securely attaching a clasp to the ends.
- Spacers and Charms: Adding spacers or charms can elevate your design, making it more unique and personalized.
Hands-On: Making Your Bracelet
Now it’s time to put your plans into action:
- Cut the desired length of your stringing material, adding a little extra for securing the ends.
- Attach a bead stopper to one end.
- String your beads in the chosen order.
- Secure the other end with a crimp bead, and attach your clasp.
- Double-check each connection to ensure durability.
Taking your time and enjoying the process is crucial—each step brings you closer to having a beautiful chunky beaded bracelet.
Finishing Touches
Once your bracelet is assembled, inspect it for any loose beads or weak connections. Tighten where necessary and trim any excess stringing material. Give your bracelet a final polish to make it shine and show off its vibrant colors.
Conclusion
Creating your own chunky beaded bracelet is not only a fun activity but also a way to express your personal style. By following these steps and using your creativity, you can craft a stunning accessory that reflects your unique taste. Happy crafting!
Frequently Asked Questions
What types of beads are best for chunky bracelets?
The best beads for chunky bracelets are usually larger in size and can be made from various materials including glass, wood, acrylic, and metal. Choose beads that suit your style and the look you want to achieve.
How do I ensure the beads don’t slip off the string?
Use bead stoppers while you are stringing to prevent beads from slipping off. Once your design is complete, secure the ends with crimp beads and tightly attached clasps to ensure durability.
Can chunky beaded bracelets be resized after they’re made?
Yes, but resizing can be tricky. You will need to remove the crimp beads and clasp, add or remove beads as necessary, and then reassemble the bracelet. It’s easier to measure your wrist before starting to avoid resizing.
