Introduction
Creating your own wire bangle bracelet offers a wonderful way to express creativity and individuality. Crafting jewelry by hand can be immensely satisfying, resulting in unique pieces that reflect personal style. Wire bangle bracelets are a fantastic project for both beginners and experienced jewelry makers, using just a few basic materials and techniques. The following guide covers everything you need to know, from selecting your wire to final design flourishes.

Materials Needed
Before starting your wire bangle bracelet, gather all necessary materials. This ensures a smooth crafting process without interruptions. Here’s a list of must-have items:
- Jewelry wire (about 16-20 gauge)
- Wire cutters
- Round-nose pliers
- Flat-nose pliers
- Mandrel or round object (like a soda can)
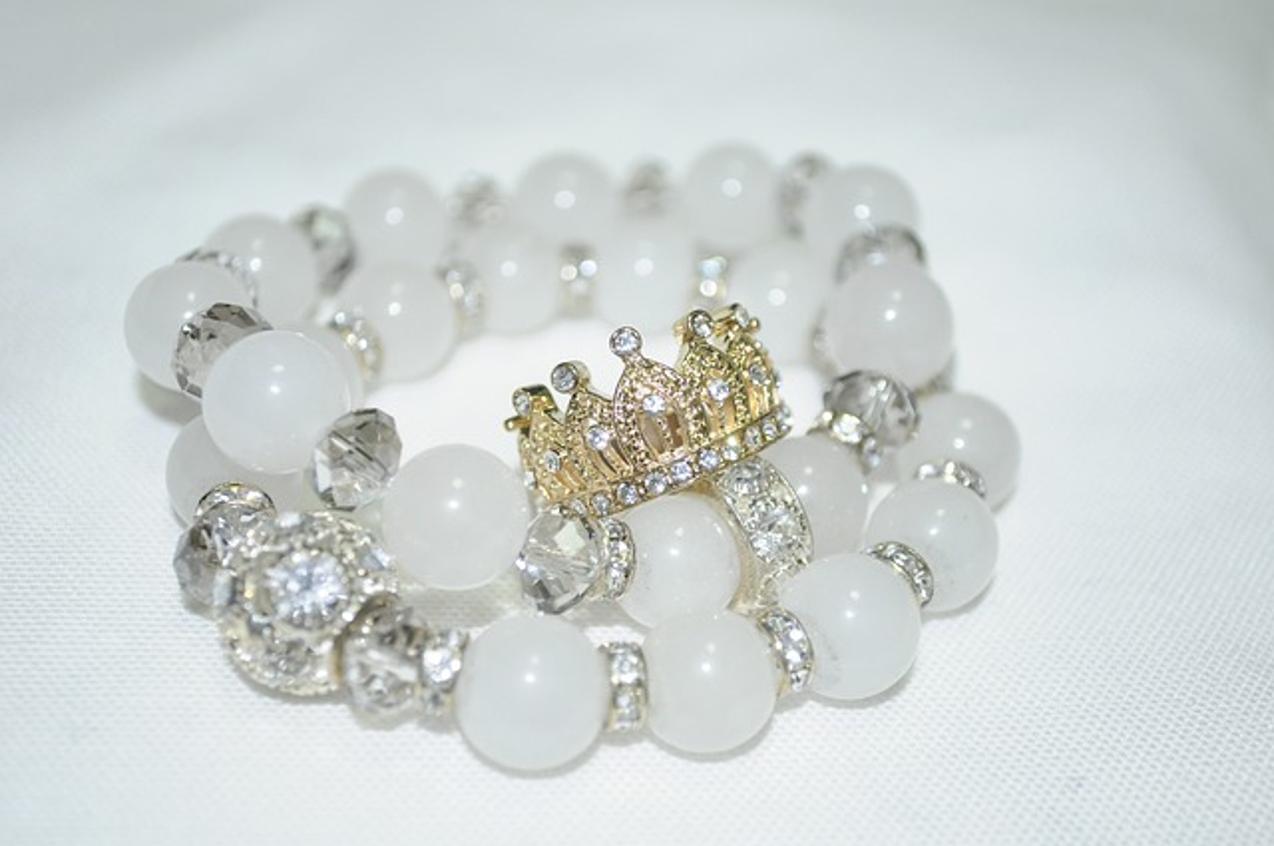
- Beads or charms (optional)
- Hammer and steel block (for texturing)
Having these materials on hand will make the creation of your bangle much simpler and more enjoyable.
Choosing the Right Wire
Selecting the appropriate wire for your bangle is crucial for both aesthetics and durability. Here’s how to make an informed decision:
- Gauge: For bangle bracelets, a wire gauge between 16 and 20 is ideal. A 16-gauge wire is thicker and heavier, providing a more robust bracelet, while 20-gauge wire is thinner and better for intricate designs.
- Material: Common wire materials include copper, sterling silver, and gold-filled. Copper is affordable and easy to work with, making it perfect for beginners. Sterling silver offers a balance of elegance and affordability, while gold-filled wire provides a luxurious look without the high price of solid gold.
- Flexibility and Hardness: Soft or half-hard wire is recommended. Soft wire is easier to manipulate, whereas half-hard wire maintains its shape better, providing more durability to the finished bangle.
Understanding wire types helps ensure you select the best option for your project, setting you up for successful bracelet creation.

Step-by-Step Instructions
Creating your wire bangle involves several key steps. Follow this guide carefully to craft a perfect bracelet.
Preparing the Wire
Start by measuring and cutting your wire:
1. Measure: Use a tape measure to determine the bracelet size. Typically, 7-9 inches of wire works for most wrists.
2. Cut: Cut the wire to your desired length using wire cutters. Ensure the ends are neatly trimmed for a professional look.
Forming the Bangle Shape
Next, shape the wire into a circle:
1. Shape: Wrap the wire around a mandrel or a round object to form a circle. An evenly shaped circle is easier to work with and looks more polished.
2. Adjust: Use your fingers and pliers to fine-tune the shape, ensuring it’s smooth and symmetrical.
Securing the Ends
Now, secure the ends to complete the basic bangle:
1. Form a Loop: Using round-nose pliers, create a small loop at each end of the wire.
2. Connect: Overlap the loops and gently press them together with flat-nose pliers to close the bangle.
3. Hammer: If desired, use a hammer and steel block to gently flatten and harden the bracelet, adding strength and a professional finish.

Adding Design Elements
Enhancing your wire bangle with design elements can make it truly unique. Here’s how to add beads and textures:
Attaching Beads or Charms
Adding beads or charms is a straightforward process:
1. Slide Beads: Before closing the bangle, slide the beads or charms onto the wire.
2. Secure: Position them as desired, ensuring they’re centered or asymmetrically distributed for a balanced look.
3. Finish: Once added, secure the bangle ends as described earlier.
Adding Texture to the Wire
Adding texture can elevate a simple wire bangle:
1. Hammer: Lightly hammer the wire on a steel block to create a textured surface. Rotate the wire as you hammer for an even texture.
2. Twisting: Alternatively, twist the wire before forming it into a circle for a different texture. Use flat-nose pliers to hold the wire firmly as you twist.
Design elements like beads, charms, or textures add a personal touch, making each bangle bracelet uniquely yours.
Tips and Tricks
Here are a few extra tips to ensure your wire bangle bracelet project is a success:
– Always use high-quality materials to enhance durability and appearance.
– Practice on cheaper wire before working with expensive metals.
– Keep your tools clean and in good condition for best results.
Conclusion
Crafting a wire bangle bracelet can be both fun and rewarding. With proper materials, the right techniques, and a bit of creativity, you can create beautiful and unique jewelry pieces. Whether you’re a beginner or an experienced crafter, making your own bangles allows you to express your individual style and creativity.
Frequently Asked Questions
What type of wire is best for making bangle bracelets?
Choosing the right wire depends on your desired look and durability. Copper, sterling silver, and gold-filled wires between 16 and 20 gauge are ideal.
Can I add beads or other decorations to my wire bangle?
Yes, adding beads or charms is a great way to personalize your wire bangle. Simply slide them onto the wire before securing the ends.
How can I ensure my wire bangle bracelet is durable?
To ensure durability, use high-quality materials, ensure the bangle is properly shaped and secured, and consider hammering the wire for added strength.
