Introduction
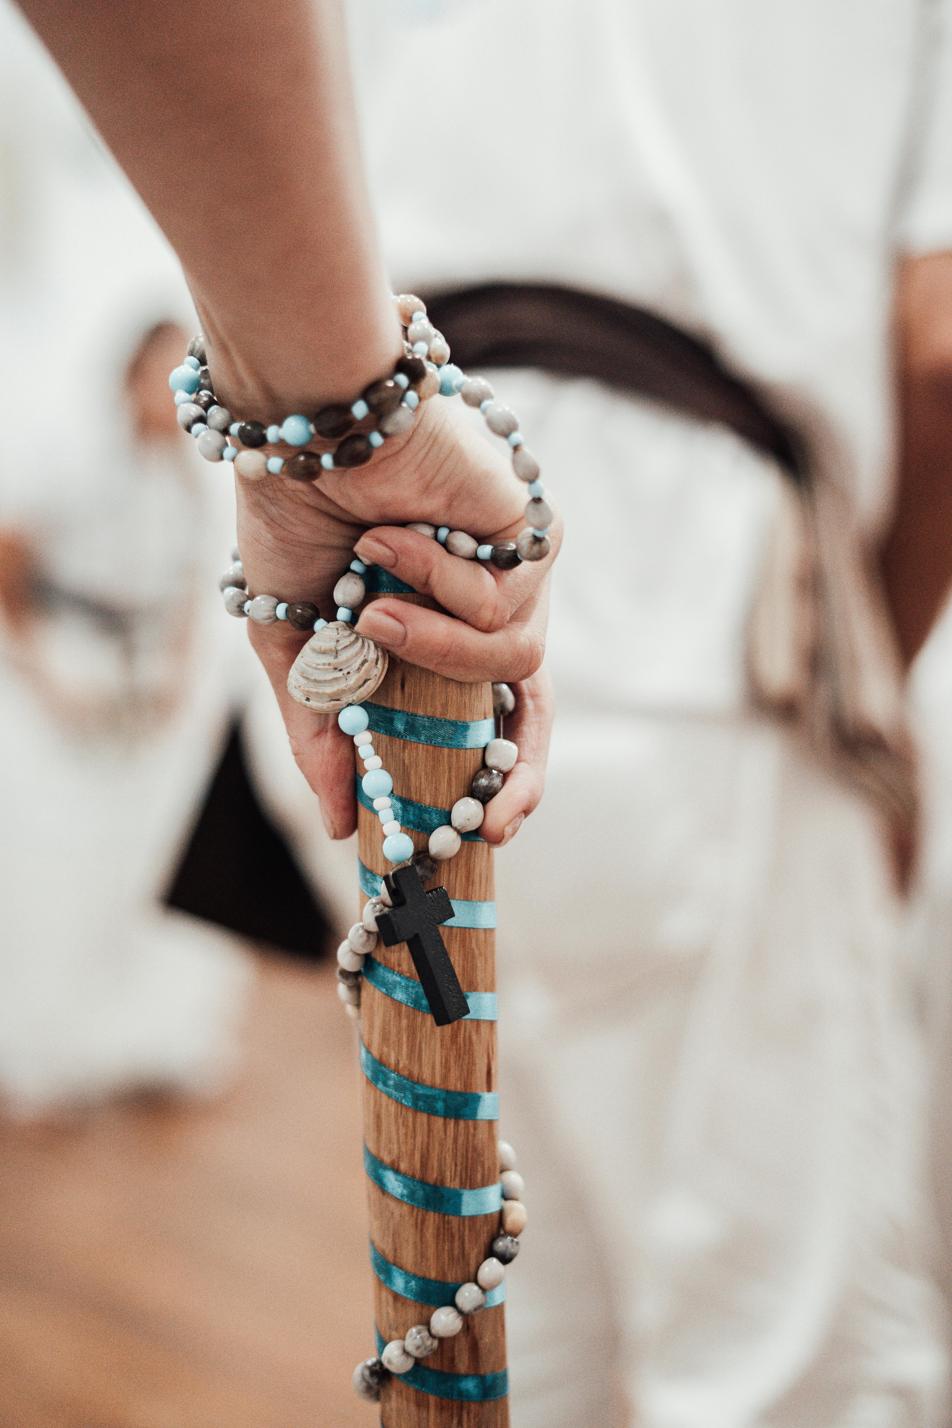
Making a beaded cross bracelet is a fantastic way to combine style and craftsmanship. These bracelets are not only beautiful but also meaningful, often carrying a symbolic value. Whether you’re crafting for yourself, to give as a gift, or to sell, this guide will walk you through each step. From gathering your materials to mastering the beading techniques, no detail is left out. Let’s dive into this creative endeavor together and produce a stunning piece of jewelry that will be cherished for years to come.

Materials Needed
Before starting your beaded cross bracelet project, you’ll need to gather the following materials:
- Beads: Choose beads that appeal to you. You can use glass, plastic, wood, or metal beads.
- Stringing Material: Various options work, including nylon thread, elastic cord, or wire thread. Your choice will depend on the desired flexibility and strength.
- Beading Needle: Helps in threading the beads onto the string, particularly if the beads have small holes.
- Scissors: For cutting the thread or cord to the desired length.
- Crimp Beads: Used for securing the ends of the bracelet.
- Jump Rings or Clasps: Necessary if you prefer a fastening mechanism rather than a stretchy bracelet.
- Cross Bead or Charm: This will be the focal point of your bracelet.
Having these materials ready will ensure a smooth crafting process.

Preparing Your Workspace
A well-organized workspace is key to a successful crafting session. Ensure you have a clean, flat surface with good lighting. Arrange your materials within easy reach. A bead mat can prevent your beads from rolling away, and a small tray or dish can hold small items like crimp beads and jump rings. Having everything in order will help you focus and enjoy the process.
Basic Techniques to Know
Before getting into the actual bracelet-making steps, it’s essential to familiarize yourself with a few basic beading techniques:
- Threading the Needle: Cut a piece of string or cord longer than your wrist size. Thread the needle, leaving a short tail.
- Stringing Beads: Pick each bead with the needle and slide it onto the thread. Repeat this step until you have the desired length.
- Adding Crimp Beads: Place a crimp bead at the end of your bead arrangement, loop the thread back through the crimp bead, and use pliers to flatten it, securing the beads in place.
- Attaching Jump Rings or Clasps: Open a jump ring with pliers, thread it through a loop on your bracelet, and close it securely. If using a clasp, attach it to the jump ring.
These techniques are fundamental to creating a sturdy and beautiful beaded bracelet.
Step-by-Step Instructions
With your materials gathered and basic techniques understood, you’re ready to create your beaded cross bracelet.
Creating the Bracelet Base
- Measure Your Wrist: Wrap a measuring tape around your wrist and add an additional inch for comfort.
- Cut the String: Cut a piece of string or cord about 12 inches longer than your wrist measurement. This extra length will allow room for knots and securing ends.
Beading the Bracelet
- Thread the Needle: Attach your needle to one end of the string.
- Start Beading: Begin by stringing a few accent beads before adding your cross charm. This will place the cross in the center of your bracelet. After stringing the cross, continue with the rest of the beads until the bracelet reaches your desired length.
Securing the Ends
- Add Crimp Beads: Place a crimp bead at the end of your beaded strand, then loop the string back through the crimp bead and a few adjacent beads.
- Secure and Trim: Use pliers to flatten the crimp bead, securing the loop in place. Trim any excess string.
- Attach Jump Rings or Clasps: If you’re using a clasp, attach it now by looping the jump ring through both the string loop and the clasp, then close the jump ring securely.
Your bracelet should now be complete and ready to wear or gift.
Troubleshooting Common Problems
Even with careful attention, you might encounter some issues:
- Loose Beads: If your beads slide around too much, consider using smaller beads or a different stringing material.
- Frayed Ends: If your string frays, use a small amount of clear nail polish on the ends before threading.
- Misaligned Cross: Ensure the cross is placed in the center by counting the beads on either side before securing ends.

Variations and Customizations
The beauty of making your own beaded cross bracelet is the ability to personalize it. Exploring variations can result in a one-of-a-kind piece that reflects your style:
- Different Bead Types: Combine various beads like gemstones, wood, or metals for unique textures.
- Color Schemes: Choose colors that have personal significance or match your wardrobe.
- Charms and Pendants: Add different charms alongside the cross for added flair.
- Patterned Arrangements: Create patterns with your bead placements for visual interest.
Care and Maintenance
To ensure your beaded cross bracelet lasts:
- Avoid Water: Keep the bracelet dry to prevent damage to the string or beads.
- Store Properly: Store in a jewelry box or pouch to avoid tangling and scratching.
- Clean Gently: Use a soft, dry cloth to wipe away any dirt or oils.
Proper care will keep your bracelet looking beautiful for years.
Conclusion
Crafting a beaded cross bracelet is a rewarding experience. Following these steps ensures you can create a piece that is both beautiful and meaningful. Happy beading!
Frequently Asked Questions
What type of string is best for beaded cross bracelets?
Nylon thread or elastic cord is often recommended for its strength and flexibility.
How do I make sure the cross stays centered on the bracelet?
Count and evenly distribute beads on either side of the cross before securing the ends.
Can I use different types of beads for added texture?
Absolutely. Mixing bead types can enhance the bracelet’s visual and tactile appeal.
