Introduction
Connecting a Sharp AR-M237 printer to your computer may seem daunting, especially if you’re not tech-savvy. However, with the right guidance, you can complete the process efficiently and without hassle. This comprehensive guide will walk you through each step, from unboxing the printer to successfully connecting it to your computer, installing the appropriate drivers, and troubleshooting any issues that may arise.
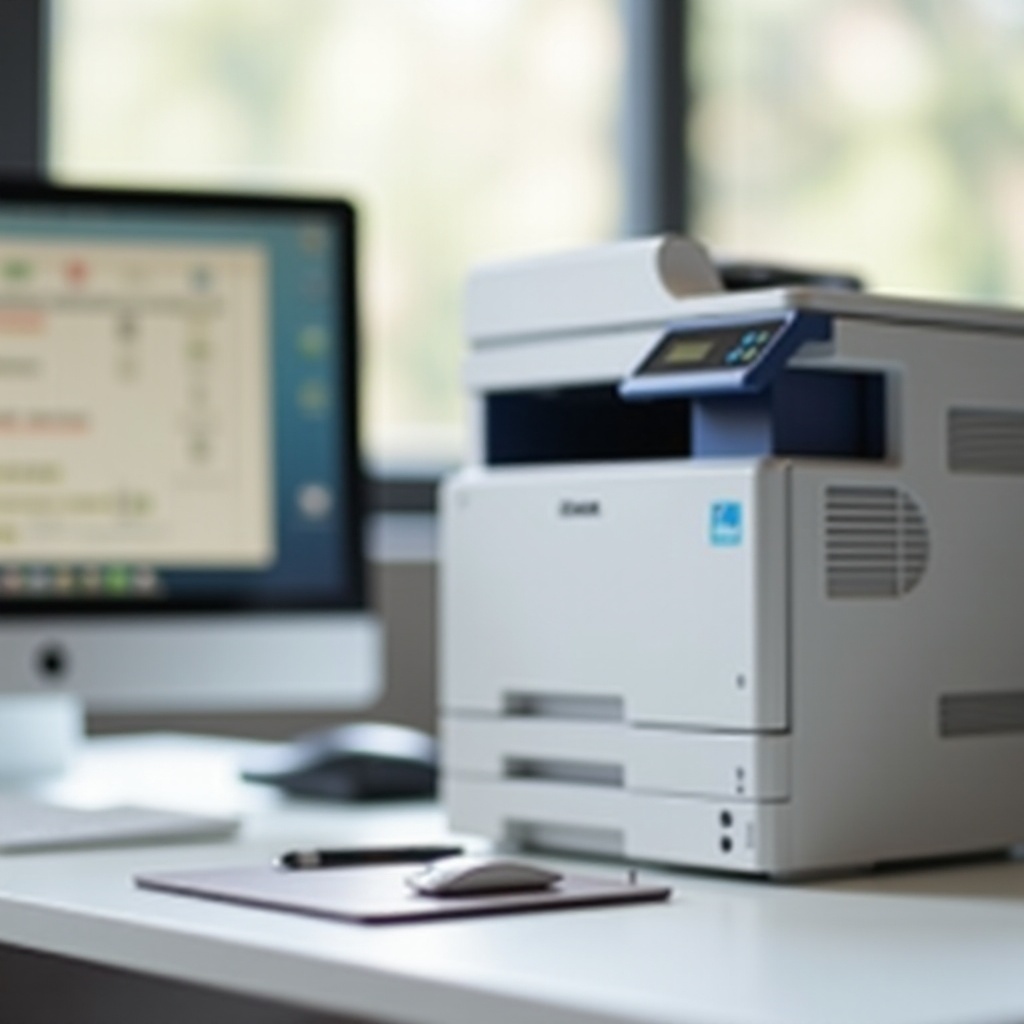
Unboxing and Initial Setup
Once you have your Sharp AR-M237 printer, the first step is unboxing and setting it up. Carefully remove the printer from its packaging, ensuring that all components are accounted for. These components typically include:
- The printer unit
- Power cord
- USB cable
- Installation CD (if provided)
- User manual and warranty documents
Begin by finding a suitable location for the printer, preferably near your computer and a power outlet. Place the printer on a stable surface and plug in the power cord. Turn on the printer by pressing the power button and ensure it boots up correctly. If your printer includes an installation CD, keep it handy for later use.
Setting up your workspace and ensuring all components are in place will pave the way for a smooth installation process.
Installing Printer Drivers
Before you can connect the printer to your computer, you need the correct set of drivers. Printer drivers act as a communication bridge between the printer and your computer, ensuring proper functionality.
Downloading the Right Drivers
To download the appropriate drivers for the Sharp AR-M237:
1. Visit the official Sharp website.
2. Navigate to the ‘Support’ or ‘Downloads’ section.
3. Search for ‘AR-M237’ in the printer model search field.
4. Select the correct driver that matches your operating system (OS).
5. Download the driver to your computer.
Installing Drivers on Different Operating Systems
Once the drivers are downloaded, follow the installation process specific to your OS:
Windows:
- Open the downloaded driver file.
- Follow the on-screen instructions to complete the installation.
- Restart your computer if prompted.
macOS:
- Open the downloaded file, which should typically be a .dmg file.
- Drag the driver to the “Applications” folder as per the on-screen instructions.
- Follow prompts to complete the installation process.
Completing these steps ensures your computer is equipped with the necessary drivers to connect and communicate with the printer.
Connecting the Printer to the Computer
With your drivers installed, you can now establish a physical or network connection between your printer and computer.
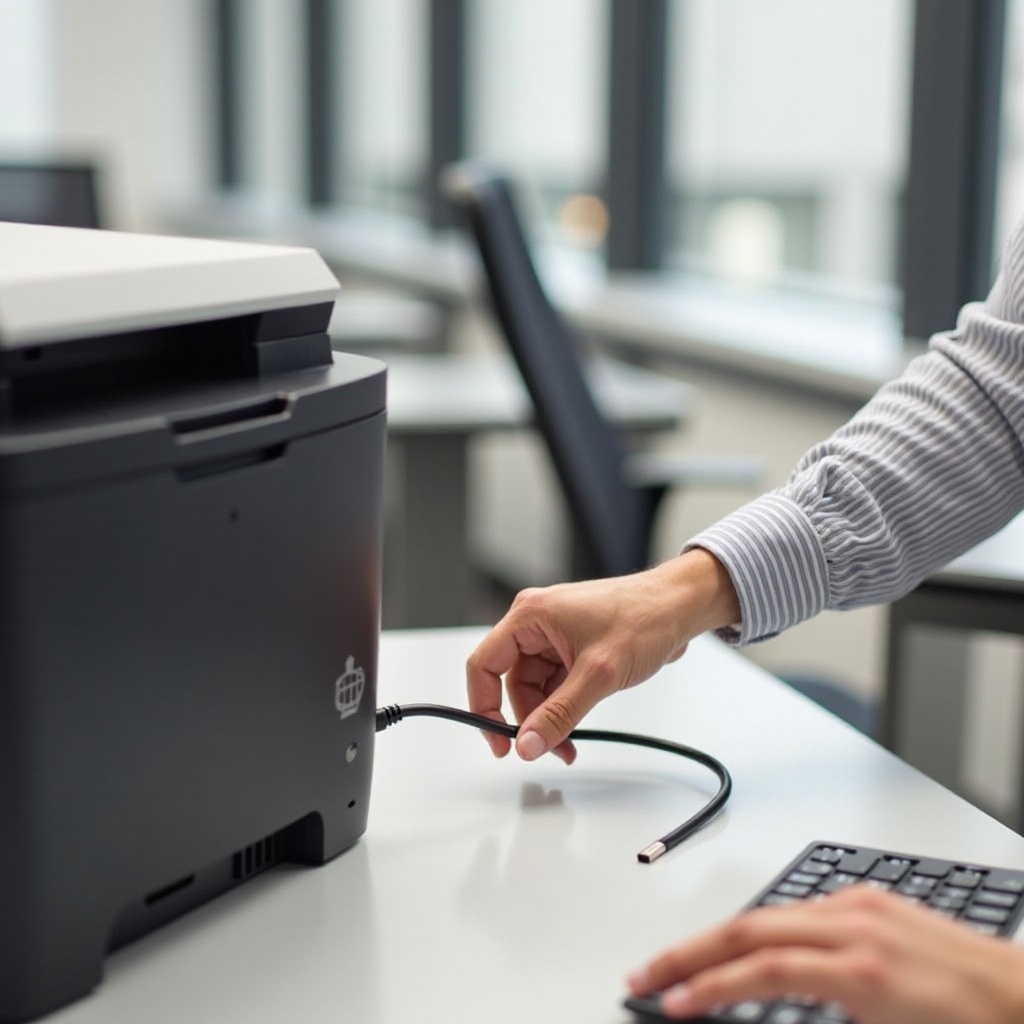
USB Connection Guide
- Turn off both the printer and the computer.
- Connect one end of the USB cable to the printer’s USB port.
- Connect the other end to the USB port on the computer.
- Power on both devices.
Your computer should recognize the printer and finalize the installation, completing the connection process.
Network Connection Guide
If you prefer a wireless setup:
1. Connect the printer to your Wi-Fi network through the printer’s control panel.
2. On your computer, go to “Control Panel” > “Devices and Printers.”
3. Select “Add a printer” and choose the “Network, wireless or Bluetooth printer” option.
4. Follow on-screen instructions to complete the network setup.
This wireless setup allows flexibility and ease of positioning within your workspace.
Verifying the Connection
To verify that your Sharp AR-M237 printer is connected properly:
1. Navigate to “Control Panel” > “Devices and Printers.”
2. Check if your printer is listed under the “Printers” section.
3. Right-click the printer icon and select “Printer properties.”
4. Print a test page to ensure everything is working correctly.
If the test page prints without issues, your connection is successful.
Common Troubleshooting Tips
Even with the best preparations, issues can arise. Here are some common troubleshooting tips:
– Printer Not Detected: Ensure the USB or network cables are securely connected and the printer is powered on.
– Driver Issues: Verify that you have downloaded and installed the correct drivers for your OS version.
– Print Jobs Stuck: Clear the print queue and restart both your computer and printer.
– Error Messages: Refer to the printer’s user manual or Sharp’s support website for specific error codes.
Adjust these steps as necessary to alleviate any connection or performance issues with your printer.
That sums up the essential steps for setting up your Sharp AR-M237 printer. But let’s ensure you have prepared for any potential issues by providing some common troubleshooting tips.
Conclusion
Connecting your Sharp AR-M237 printer to your computer involves a few straightforward steps: unboxing, setting up, installing drivers, and establishing the connection. By following this guide, you can ensure a seamless integration and be ready to start printing efficiently.
FAQs
How do I find the correct printer driver for my Sharp AR-M237?
Visit the official Sharp website, go to the “Support” section, and search for AR-M237 drivers that match your operating system.
What should I do if my computer does not recognize the printer?
Ensure all cables are securely connected, the printer is powered on, and you have the correct drivers installed. Restarting both devices can also help.
How can I update the printer’s firmware?
Check Sharp’s official support page for firmware updates. Download the firmware file and follow the provided instructions to update the printer.
By adhering to these steps and tips, connecting your Sharp AR-M237 printer to your computer will be a simple task, ensuring that you can utilize your printer effectively for all your document needs.
Frequently Asked Questions
How do I find the correct printer driver for my Sharp AR-M237?
Visit the official Sharp website, go to the ‘Support’ section, and search for AR-M237 drivers that match your operating system.
What should I do if my computer does not recognize the printer?
Ensure all cables are securely connected, the printer is powered on, and you have the correct drivers installed. Restarting both devices can also help.
How can I update the printer’s firmware?
Check Sharp’s official support page for firmware updates. Download the firmware file and follow the provided instructions to update the printer.