Introduction
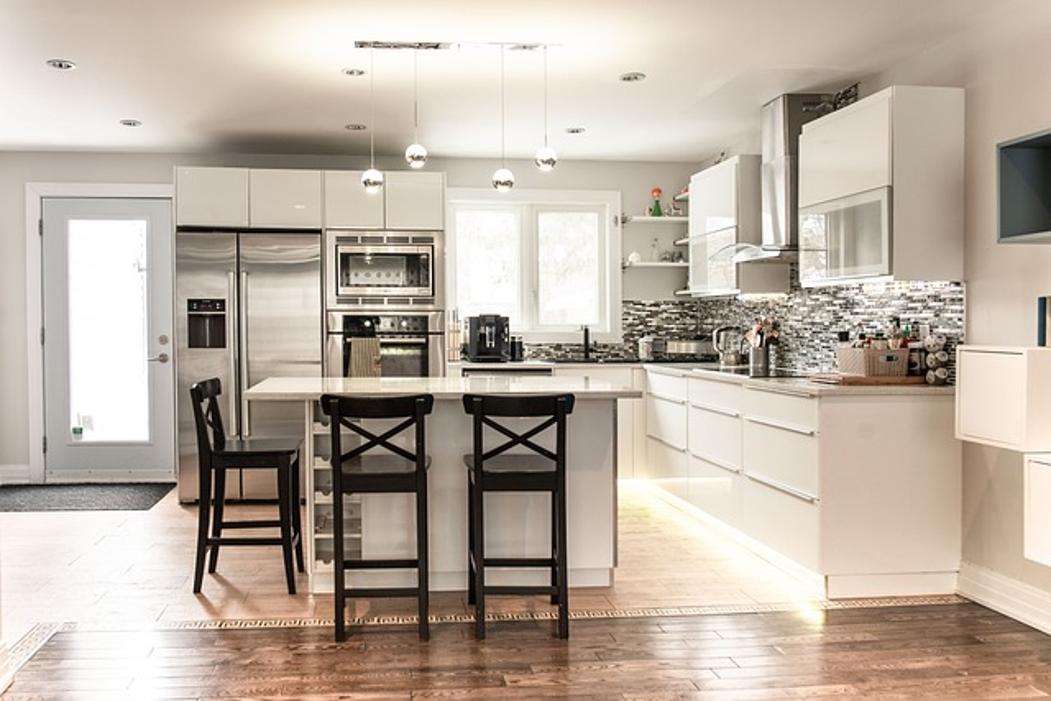
Having well-aligned cabinet doors is essential for a polished kitchen look. It not only adds to the aesthetic appeal but also ensures convenient use. If you’ve recently installed IKEA cabinets or if their doors are misaligned over time, don’t fret. Adjusting IKEA cabinet doors is simpler than you might think. In just a few straightforward steps, you can achieve perfectly leveled and aligned cabinet doors, no professional assistance needed. This guide will walk you through the process, ensuring that even beginners can follow along without getting overwhelmed.

Tools You’ll Need
Before diving into the adjustments, gather the necessary tools. Having everything on hand will make the process smoother and more efficient. Here’s what you’ll need:
- Screwdriver: A common Phillips screwdriver will suffice. Some IKEA cabinets may require a flat-head screwdriver, so double-check your hinges.
- Spirit Level: Ensures the doors are straight and even.
- Soft Cloth: Helps in cleaning the hinges and surrounding areas.
- Pliers: These may come in handy for minor adjustments or gripping tiny screws.
Having these tools ready will save you from unnecessary interruptions. Now, let’s move on to understanding the type of hinges you are working with.
Understanding the Types of Hinges
IKEA cabinets typically come with European-style hinges, which are hidden from view when the cabinet doors are closed. These hinges contain three main adjustment screws:
- Vertical Adjustment Screw: Controls the up-and-down movement of the door.
- Horizontal Adjustment Screw: Regulates the side-to-side alignment of the door.
- Depth Adjustment Screw: Adjusts how close or far the door sits from the cabinet face.
Knowing these screws will make the process of aligning your doors much easier. In the next section, we’ll cover how to prepare your workspace to ensure a smooth adjustment process.
Preparing Your Workspace
A tidy and well-organized workspace can significantly enhance your efficiency. Here’s how to prepare:
- Clear the Area: Remove any items inside or around the cabinets to give yourself plenty of room.
- Good Lighting: Ensure the area is well-lit so you can easily see the screws and hinges.
- Set Up Your Tools: Lay out your tools on a nearby, easy-to-reach surface.
Being prepared will make the adjustment process much more straightforward and efficient. Now, let’s dive into the step-by-step process of adjusting the vertical alignment.
Adjusting Vertical Alignment
Vertical alignment ensures that the cabinet doors sit evenly, preventing one door from appearing higher or lower than the other. Here’s how to do it:
- Locate the Vertical Adjustment Screw: Identify the appropriate screw on the hinge.
- Loosen the Screw: Use your screwdriver to slightly loosen this screw.
- Adjust the Door: Manually move the door up or down to the desired position.
- Tighten the Screw: Once aligned, tighten the screw to secure the position.
After adjusting, use your spirit level to confirm that the doors are perfectly even. If it’s your first time, make small adjustments and frequently check the alignment. Next, we will move on to adjusting the horizontal alignment for a balanced side-to-side fit.
Adjusting Horizontal Alignment
Horizontal alignment ensures that your cabinet doors align beautifully from side to side, closing without gaps. Follow these steps:
- Identify the Horizontal Adjustment Screw: Find this screw on your cabinet hinge.
- Turn the Screw: Adjust it gently using your screwdriver. Clockwise or counterclockwise turns will shift the door left or right.
- Check the Alignment: After turning, inspect the door’s placement by closing it and noting any gaps or overhangs.
- Fine-Tune: Continue adjusting in small increments until the doors align perfectly.
Gently close the doors to ensure they meet in the middle without overlapping or leaving gaps. Fine-tuning may be required to achieve the perfect position. Now, let’s adjust the door depth to ensure it sits flush against the cabinet frame.
Adjusting Door Depth
The final adjustment involves the depth, ensuring that your cabinet doors sit properly against the front of the cabinet box. Here’s the procedure:
- Locate the Depth Adjustment Screw: Find this on the hinge mechanism.
- Turn the Screw: Use your screwdriver to adjust this setting. Turning it will bring the door closer or force it further from the cabinet frame.
- Check the Alignment: After each adjustment, close the doors to see how they sit.
- Adjust Gradually: Like with the other adjustments, make small, incremental changes and keep checking the fit.
Achieving the right door depth enhances both the look and function of your cabinets. Let’s now move on to troubleshooting potential issues that could arise during this process.
Troubleshooting Common Problems
It’s common to encounter a few hiccups when adjusting cabinet doors. Here are some quick fixes:
- Doors Stick When Closing: Adjust both the depth and horizontal screws until the doors open and close smoothly.
- Uneven Gaps: Revisit the vertical and horizontal screws for a better fit.
- Doors Won’t Stay Aligned: Ensure all screws are tightly fastened after adjustments.
Regularly checking the alignment after each adjustment can prevent these issues. Now, let’s look at some maintenance tips to keep your cabinet doors in top condition.
Maintenance Tips
Maintaining the alignment and condition of your cabinet doors is essential for longevity:
- Regular Checks: Inspect every few months to ensure everything remains aligned.
- Clean Hinges: Dust and debris can affect hinge functionality; clean them periodically.
- Tighten Screws: Loose screws can lead to misalignment, so ensure they are tightened regularly.
A well-maintained set of cabinet doors will stay aligned longer, saving you time and hassle in the future. Let’s conclude our guide with a brief recap.
Conclusion
Properly adjusted IKEA cabinet doors not only enhance the aesthetic appeal of your kitchen but also improve functionality. With basic tools and a little bit of patience, you can achieve perfectly aligned cabinet doors. Regular maintenance will ensure they remain functional and look great for years to come. Don’t let misaligned doors frustrate you—take control and make the necessary adjustments today.
Frequently Asked Questions
How often should I check and adjust my IKEA cabinet doors?
You should inspect your cabinet doors every few months to ensure they remain properly aligned. Regular adjustments can prevent long-term issues and keep your kitchen looking its best.
What should I do if the doors keep becoming misaligned?
If doors frequently misalign, double-check that all screws are tightly fastened and that you’re using the correct adjustment techniques. Persistent issues may require consulting IKEA’s customer support.
Can I use other tools apart from the suggested ones to adjust the doors?
While the recommended tools are optimal for adjustments, other standard screwdrivers and spirit levels can also work. However, using the precise tools suggested can make the job easier and more accurate.