Introduction
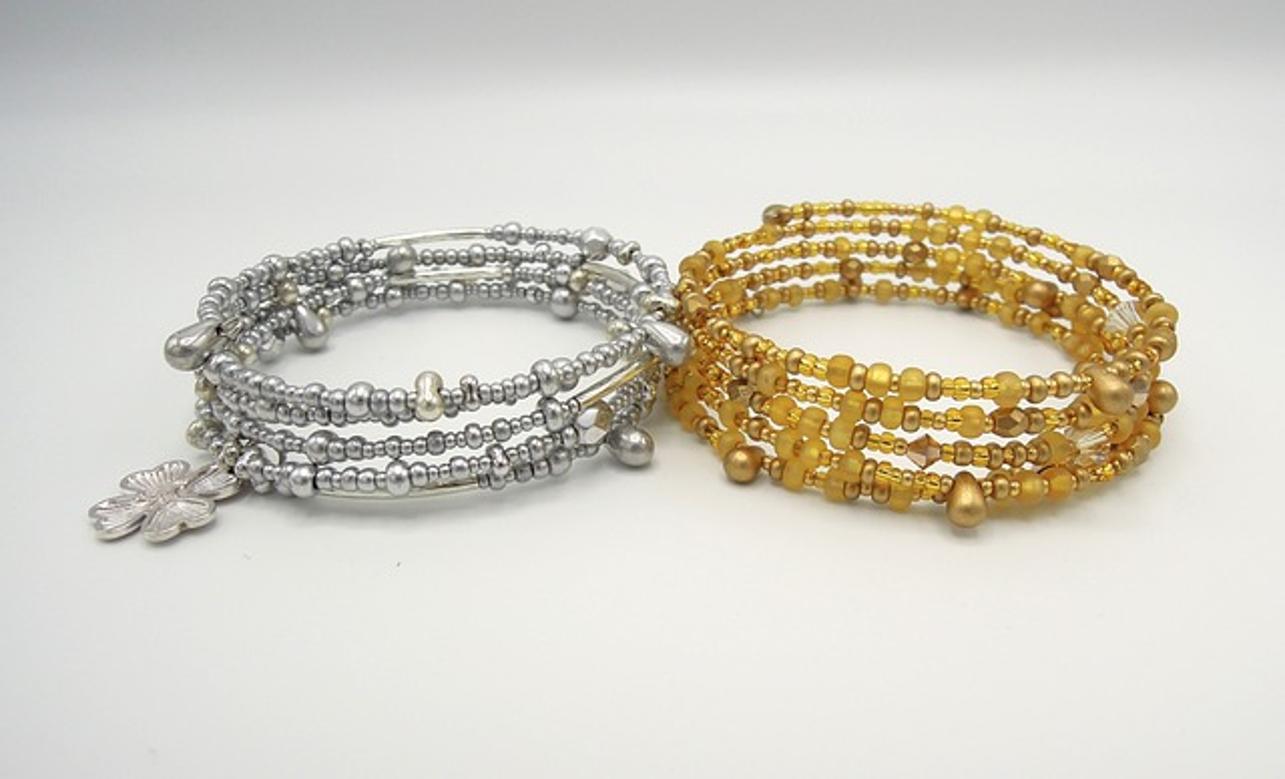
Silver beaded bracelets are elegant pieces of jewelry that you can make at home. Creating your own can be a fulfilling and creative endeavor. In this guide, we’ll walk you through the process of making a silver beaded bracelet, from selecting materials to finishing your creation. Whether you’re a beginner or an experienced DIY enthusiast, you’ll find valuable insights to help you craft a beautiful bracelet.

Why Choose Silver Beaded Bracelets?
Silver beaded bracelets offer an unmatched blend of sophistication and versatility. They can be worn on many occasions, from casual outings to formal events. The inherent shine and durability of silver make it an excellent choice for crafting jewelry that lasts. Moreover, the customizability of beaded designs ensures that each bracelet is unique, reflecting your personal style.
Transitioning from understanding why silver is an exceptional choice, let’s delve into what you’ll need to start crafting your bracelet.

Gathering Your Supplies
Before diving into the creative process, it’s crucial to gather all your supplies. Having everything at hand will make the crafting process smoother.
Types of Silver Beads
Silver beads come in a plethora of shapes and sizes. Some popular options include:
1. Round beads – Classic and simple, perfect for any design.
2. Spacer beads – Small beads that can add some interesting details between larger beads.
3. Textured beads – These beads have etched designs or patterns, adding more depth to the bracelet.
Essential Tools
To make your bracelet, you will need:
1. Beading wire – Durable and flexible.
2. Bead mat – Keeps beads from rolling away.
3. Crimp beads – Secures the ends of the beading wire.
4. Crimping pliers – For securing crimp beads.
5. Wire cutters – To trim excess wire.
6. Measuring tape – Ensures proper bracelet length.
With your supplies in hand, we can now move on to designing your beautiful bracelet.
Designing Your Bracelet
With your supplies ready, it’s time to design your bracelet. Designing is a creative process where you can let your imagination take the lead.
Choosing a Pattern
Patterns can range from random assortments to intricate designs. For beginners, simple repeating patterns work well:
1. Symmetrical patterns – Offers a balanced and aesthetic look.
2. Asymmetrical designs – Can provide a more dynamic and interesting appearance.
Measuring Wrist Size and Bead Spacing
Measuring is crucial to ensure a good fit:
1. Measure your wrist – Use a measuring tape to determine your wrist’s circumference.
2. Add extra length – Ensure comfort by adding an extra inch.
3. Plan bead spacing – Lay out the beads on the bead mat to preview the overall pattern and ensure correct spacing.
Now that you have your design planned, let’s dive into the stringing techniques.
Stringing Techniques
Stringing your beads properly is fundamental to ensuring a durable bracelet that looks good and lasts.
Using Beading Wire
Beading wire is a popular choice for its strength:
1. Cut the wire – Measure and cut a piece of beading wire, leaving an extra few inches.
2. Attach a clasp – Use a crimp bead and crimping pliers to secure a clasp at one end.
Techniques for Securing Beads
Ensuring beads stay in place is critical:
1. Start threading beads – Follow your design pattern.
2. Secure with crimp beads – Place crimp beads at critical points to secure the overall design.
3. Finish with another crimp bead – Once all beads are strung, secure the other end with a crimp bead and trim any excess wire.
Having learned the stringing techniques, let’s explore adding unique elements to make your bracelet stand out.

Adding Unique Elements
To make your bracelet stand out, consider adding unique elements like charms or experimenting with different bead sizes.
Incorporating Charms and Spacers
Charms and spacers can add personality to your bracelet:
1. Select charms that reflect your interests – Personalize the bracelet.
2. Use spacers – Distribute them throughout the design for added flair.
Experimenting with Bead Sizes
Mixing different bead sizes can create interesting dynamics:
1. Combine small and large beads – Add depth to the bracelet.
2. Consider textured beads – Different textures can enhance the visual appeal.
With most elements in place, we move towards the final, vital steps for finishing your bracelet.
Finishing Touches
Your bracelet is almost complete! Now, it’s time to add the final touches to ensure it is polished and wearable.
Tightening and Securing the Bracelet
Ensure the bracelet is secure:
1. Double-check all crimps – Make sure they are tight.
2. Test the bracelet’s integrity – Gently tug to ensure that it’s secure.
Testing for Comfort and Fit
Comfort is key for any piece of jewelry:
1. Try on the bracelet – Confirm it fits comfortably and is not too tight.
2. Adjust if necessary – Make minor adjustments for a perfect fit.
Now, let’s discuss how to care for and maintain your silver beaded jewelry to keep it looking pristine.
Care and Maintenance of Silver Beaded Jewelry
Proper care ensures your bracelet remains beautiful for years to come.
Cleaning and Storing Your Bracelet
Keep your bracelet looking new:
1. Clean with a soft cloth – Gently wipe after each wear.
2. Store in a jewelry box or pouch – Prevents tarnishing and damage.
Tips for Longevity
A few tips can greatly prolong the life of your bracelet:
1. Avoid exposure to chemicals – Remove when using cleaning products or swimming.
2. Regularly check for wear – Inspect for any loose beads or crimps and repair as needed.
Conclusion
Making a silver beaded bracelet is a rewarding experience that lets you express your creativity. Follow these steps to craft a beautiful and unique piece of jewelry that you can wear proudly or give as a thoughtful gift. Enjoy the process and happy crafting!
Frequently Asked Questions
How do I choose the best silver beads for my bracelet?
Choose beads that match your design and style preferences. Consider bead size, shape, and texture to create the desired look.
What tools are essential for making a silver beaded bracelet?
Essential tools include beading wire, wire cutters, crimp beads, crimping pliers, and a measuring tape.
How can I repair a broken silver beaded bracelet?
To repair, cut out any damaged parts and re-string the beads onto a new wire. Secure with crimp beads at each end.
